
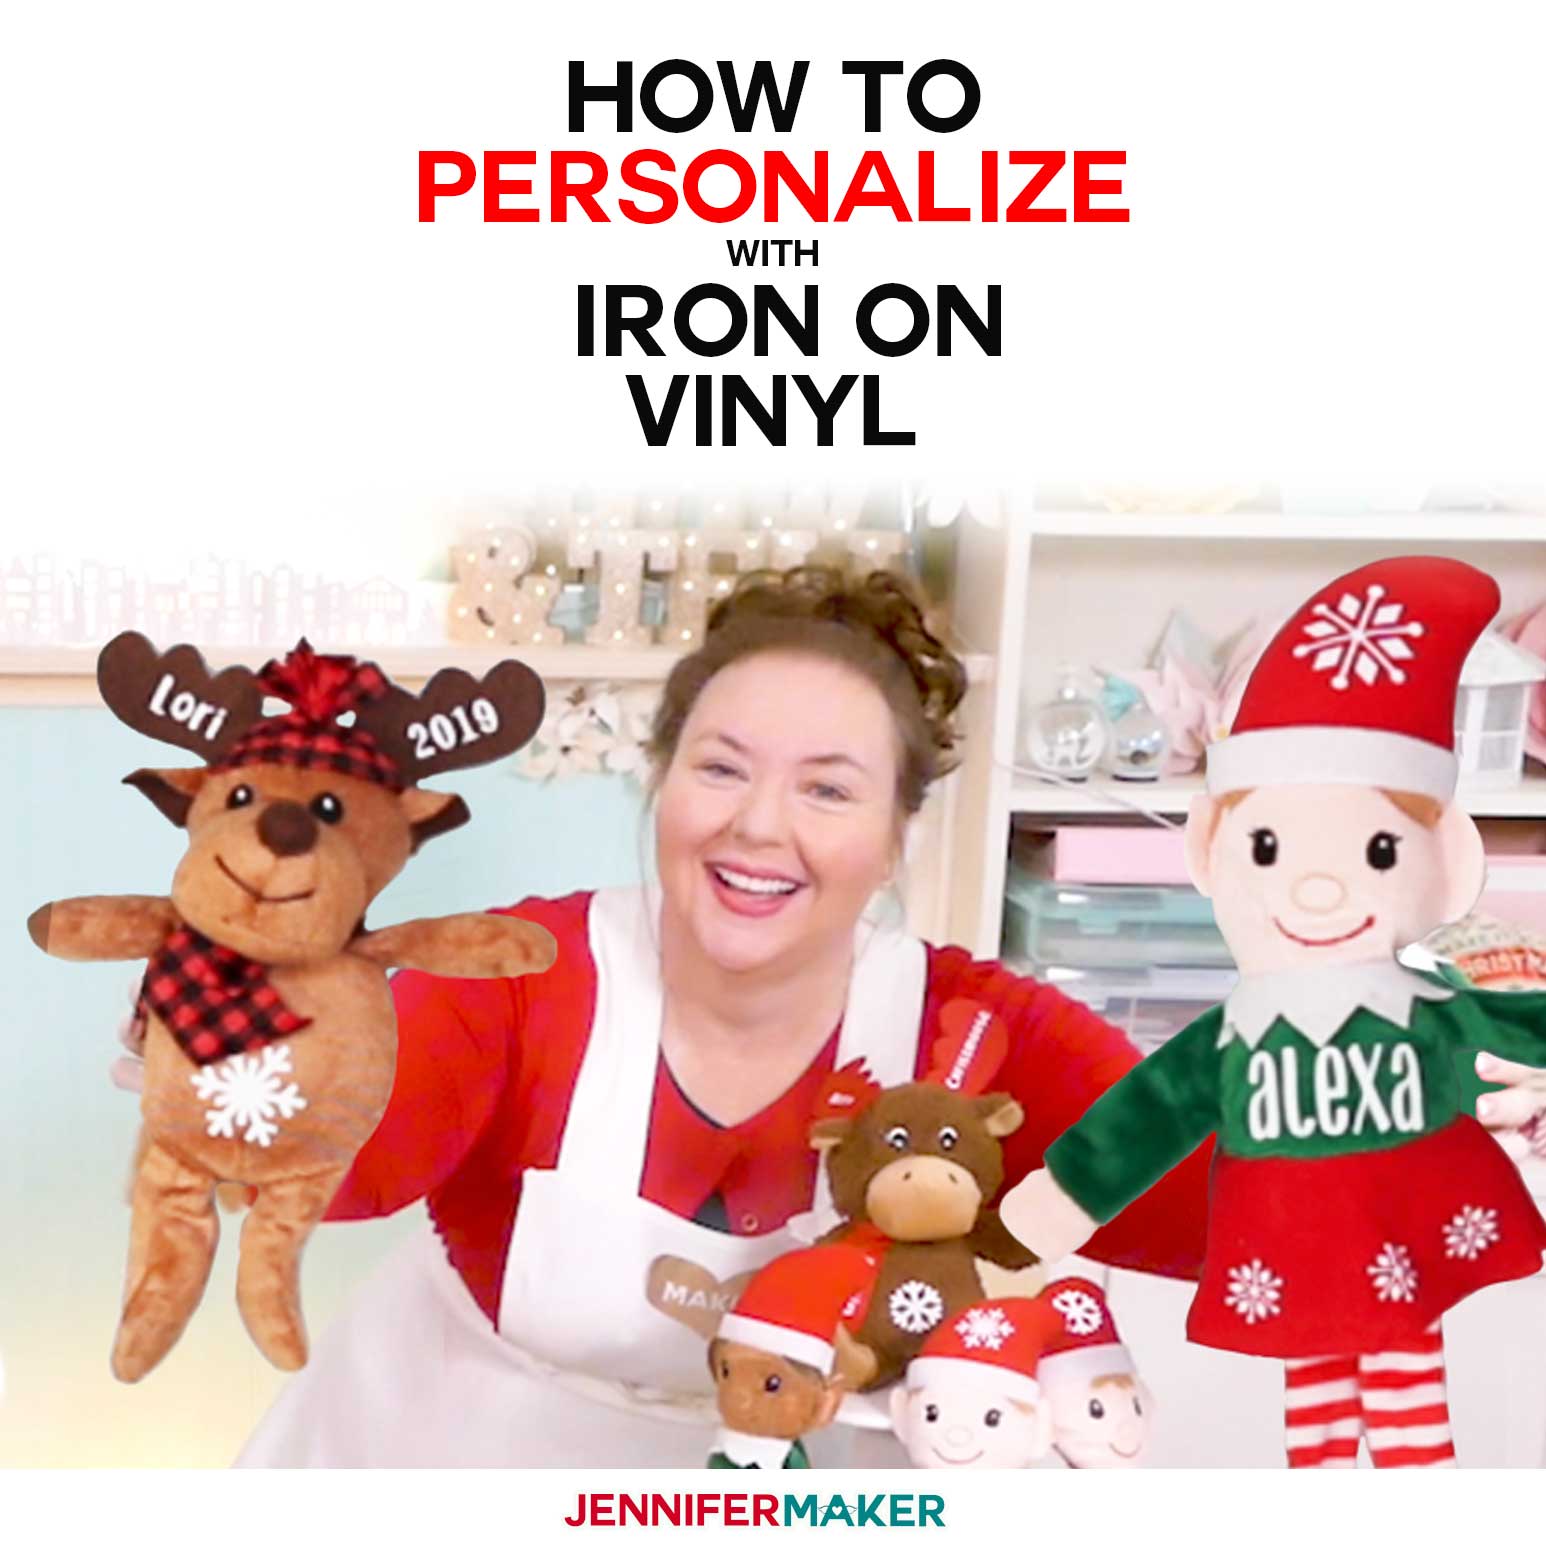
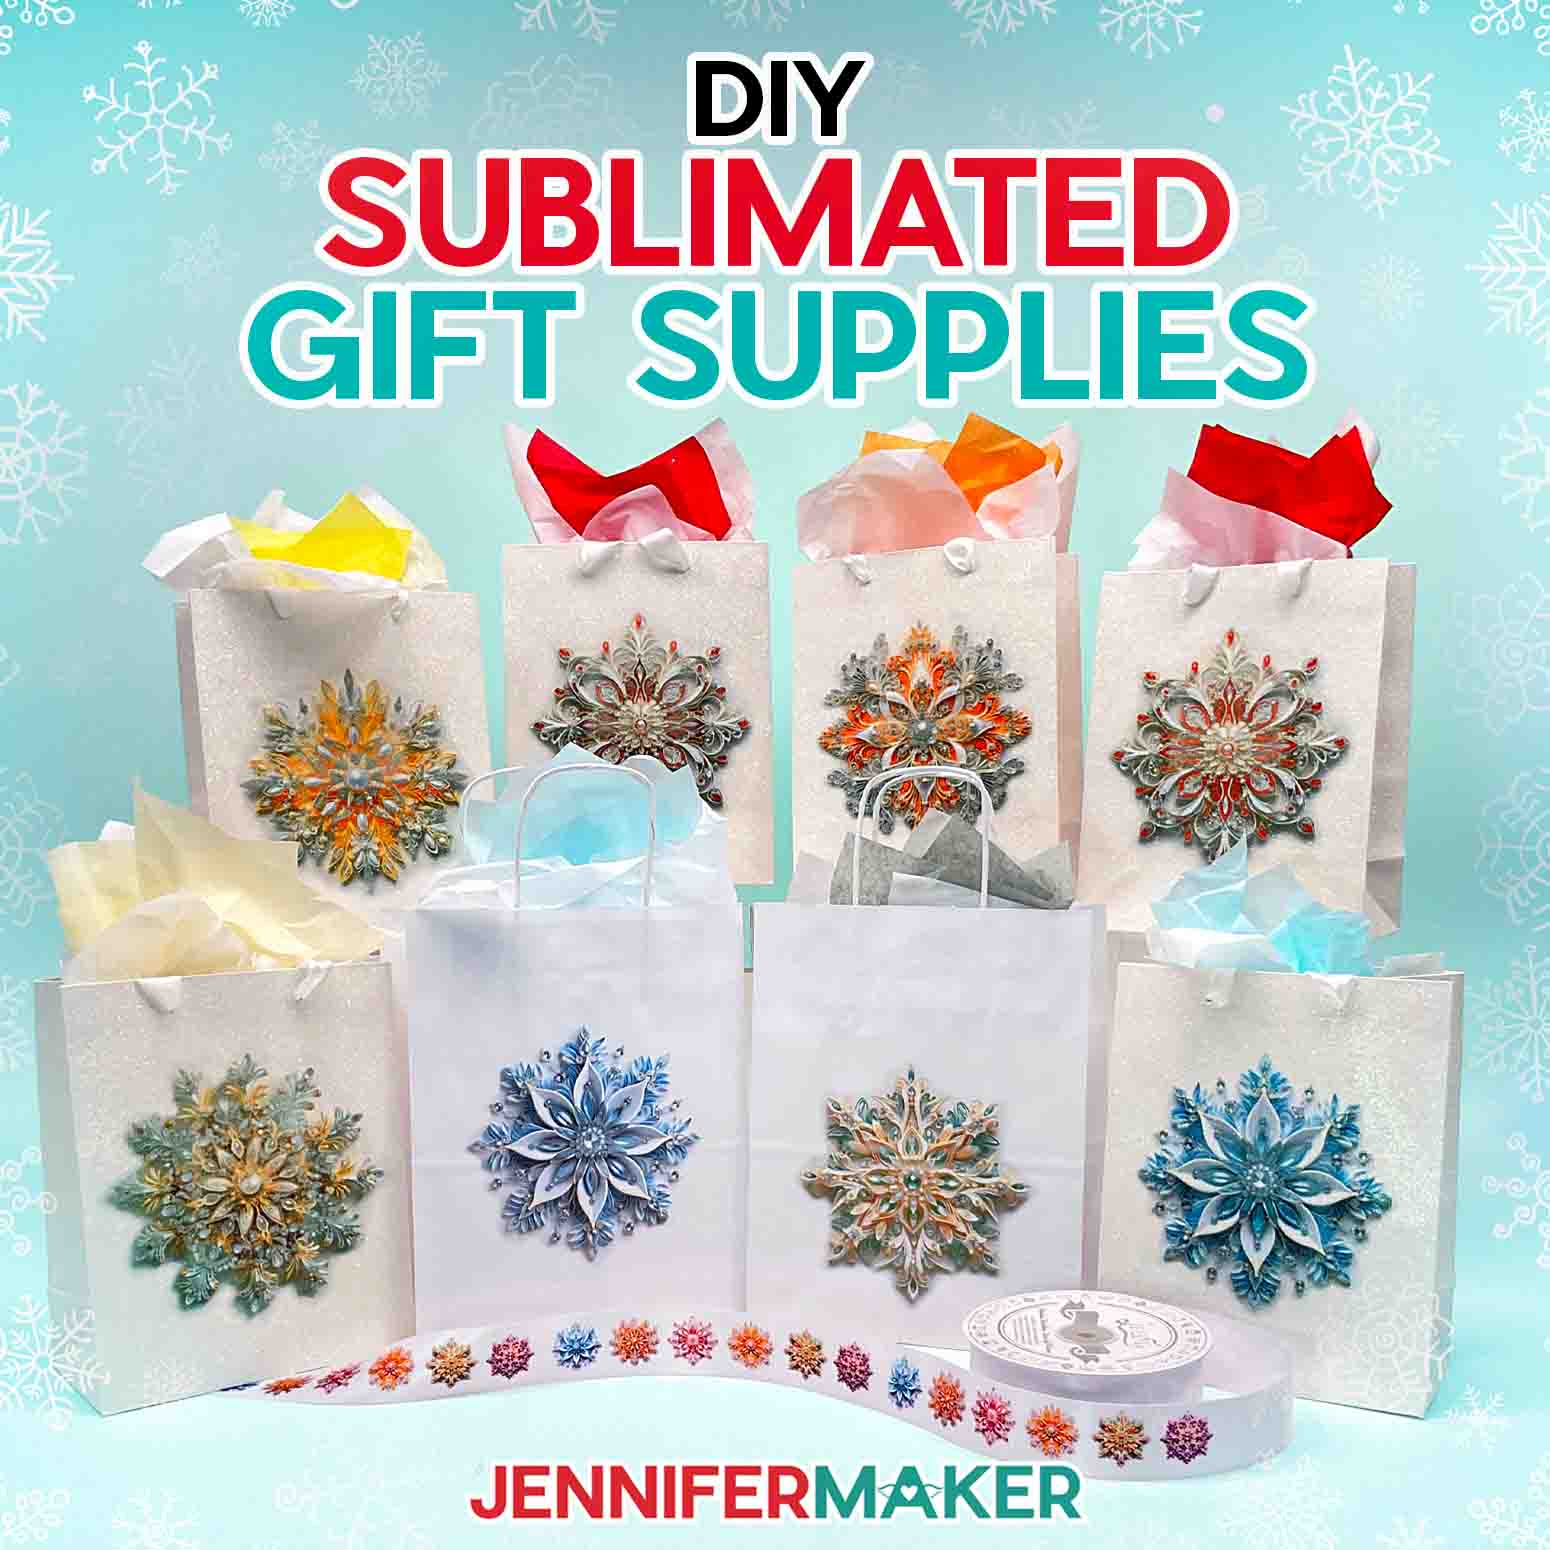
Looking for fun gifts for co-workers, stocking stuffers, or that special little in your life? You can make personalized elves and other stuffed animals quick and easy using iron on vinyl!
One of the easier things you can do with a Cricut is cut iron on vinyl and use it personalize stuffed animals, dolls, toys, and even elves! I’ve had a lot of requests for a tutorial on how to personalize these quickly and efficiently, and I want to go over how to find them, how to size designs, which fonts work best, and how to get the vinyl to stick!. So for Day 5 of The Great Maker 25-Day Gift-Away Challenge, I am showing you how to personalize elves and stuffed animals with iron on vinyl!
See exactly how to personalize elves and stuffed animals with iron on vinyl in this tutorial video below (or keep scrolling if you prefer a step-by-step photo tutorial):
First, where to find these stuffed animals—most of the items in this tutorial were obtained from the Dollar Tree. We have elves, moose, mermaids, dolls, flying horses, and super heroes. Dollar Tree stuffies are popular because, well, they’re really inexpensive so they’re ideal when you have a LOT of people to buy for (like, say, gifts of a large team or family) or when you want to re-sell them at craft show. Just keep in mind you get what you pay for — they’re very simple and hardly made of the highest quality materials. But hey, you can personalize fancier and plusher things, too, like this cute bunny. I have a shopping list linked in this video that gives you ideas on some items you can personalize at various prices.
That said, I know most of you are most interested in personalizing the cute little elves from the Dollar Tree, so I’m going to use that as our example in how to create and size designs for it.
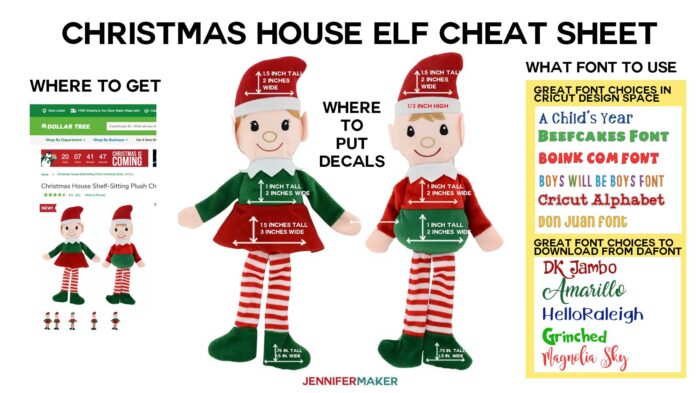
I’ve even drawn up a template you can use to resize things for perfect sizing every time. I’ve even made you some extra decals like bows, earrings, snowflakes, glasses, and so on you can use to fancy up your elves.
One of the drawbacks to these elves is how they only show up in pink at the Dollar Tree. I mean, what’s with that? We KNOW elves are ALL colors. So I’ll also show you how you can color your elves using either fabric markers or alcohol ink.
Now, for supplies, you mostly just need white iron-on vinyl. I like to use basic Cricut Everyday Iron on Vinyl, Glitter Iron on Vinyl, and Flocked Iron on Vinyl (which is a soft, almost fabric-like vinyl). These simplest one to use is the everyday iron on, but the prettiest is the glitter. I’ll show you all three look later.
To press your iron on vinyl to the stuffed animals and dolls, I recommend you use a small iron like the Cricut Mini EasyPress, which is what I used to make all of these very fast. If you don’t have a mini, you can use a small craft iron, a heat press, or even a hair straightener in a pinch. The nice thing is most of these things are made of polyester felt, and the vinyl sticks quite easily to them.
Let me show you how to personalize your plushies! This post contains some affiliate links for your convenience (which means if you make a purchase after clicking a link I will earn a small commission but it won’t cost you a penny more)! Read my full disclosure policy.
Materials to Make Personalized Elves and Stuffed Animal Gifts
View my Amazon shopping list with the exact items we used to make this project!
- White and black iron on vinyl (in this tutorial I am using Cricut Everyday Iron on, Cricut glitter iron on vinyl, or Siser Flocked Iron On Vinyl)
- Stuffed animals and plushies to personalize, such as elves, moose, mermaids, superheroes, elephants, and other things to personalize (Note: I got my elves and moose from the Dollar Tree)
- Weeding tool
- Cricut Mini EasyPress or iron
- Cricut EasyPress Mat
- Parchment paper
- (Optional) Fabric markers or alcohol inks (to give the elves different skin color)
- A way to cut your iron on vinyl (I used the amazing Cricut)
- Design #170 – My free SVG/DXF/PDF cut file/pattern for the elf decals (available in my free resource library—get the password at the bottom of this post)
How to Make Personalized Elves and Stuffed Animal Gifts
Step 1: Get my free personalized elf decal patterns.
Download the free personalized elf and stuffed animal decals (Design #170) from my free resource library (get the password to the library in the form at the bottom of this post).
Step 2: Design your elf or plushie personalization.
If you’re not sure how to upload an SVG cut file to Cricut Design Space, watch this helpful video training series I made. If you’re on an iPhone or iPad, here’s how to download and upload SVG files to the Cricut Design Space app.
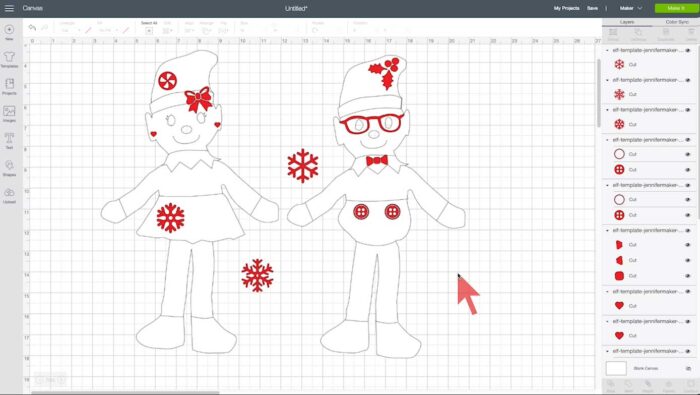 Here’s what my personalized elf decal SVG cut file looks like uploaded to Cricut Design Space:
Names on elves should be sized to about 1″-1.5″ tall, and names on “Christmoose” antlers about 1.5″ tall.
Fonts that work well for personalized elves and other stuffed animals include:
- Don Juan (in Cricut Design Space)
- Beefcakes (in Cricut Design Space)
- Boink Com Font (in Cricut Design Space)
- Boys Will Be Boys (in Cricut Design Space)
- Cricut Alphabet (in Cricut Design Space)
- DK Jambo
- Richela Kids
- Hello Raleigh
- Magnolia Sky
- Amarillo
- Grinched 2.0
Step 3: Cut your iron on vinyl.
I cut my iron on vinyl names and decals on my Cricut cutting machine, so let me show you how to do that!
Remember to MIRROR your design when cutting on iron-on vinyl!
Tip: Click here for my guide on how to tell which side of the vinyl to cut!
Step 4: Weed your iron on vinyl.
Carefully weed the excess vinyl from your cut vinyl using a weeding tool. Pay attention to any letters with centers so you don’t accidentally leave them in.
Step 5: Iron on your vinyl
Turn on your Cricut Mini EasyPress, set it to the second heat setting, and pre-heat.
Now first press your elf or stuffed animal with a piece of parchment paper on top for 10 seconds to prepare it for the vinyl.
Next, position the iron on vinyl on the elf or stuffed animal, and press for 10-15 seconds.
Finally, allow the liner to cool just a tad (so it is warm to the touch instead of hot) and then peel it off.
No Cricut Mini Press? Here are some alternatives:
- Table top heat press (preferably with a small plate attachment): 350°F at 10-15 seconds
- Hair straightener: preheat for 10 seconds before vinyl, press for 25 seconds with the vinyl on, remove film, then press again for 5-10 seconds
Notes: Be careful not to press too long, your vinyl could actually pick up some of the color of the fabric.
Step 6: (Optional) Dress them up!
You can add more embellishments to your elves and stuffed animals. Try pom poms, tutus, clothing, and more! (Note: If you are gifting or selling these to anyone under the age of 3, keep these embellishments OFF to avoid choking hazards.)
A lot of people like to sell these. I’ve seen them go for anyone where from $5-$10 each. You can decide how to much to charge based on how much your base materials cost, how much time you put into it, and your market.
Get my free elf and stuffed animal decal SVG cut files and patterns
If you personalize an elf, moose, mermaid, super hero, or something else, we want to see! Please share your photo in our Facebook group or tag me on social media with #jennifermaker . You can even earn two bonus entries for my 25-Day Gift-Away giveaway if you upload a photo of your version of this project by December 25th.
See all of the projects, tutorials and free designs in The Great Maker 25-Day Gift-Away Challenge!
Love,

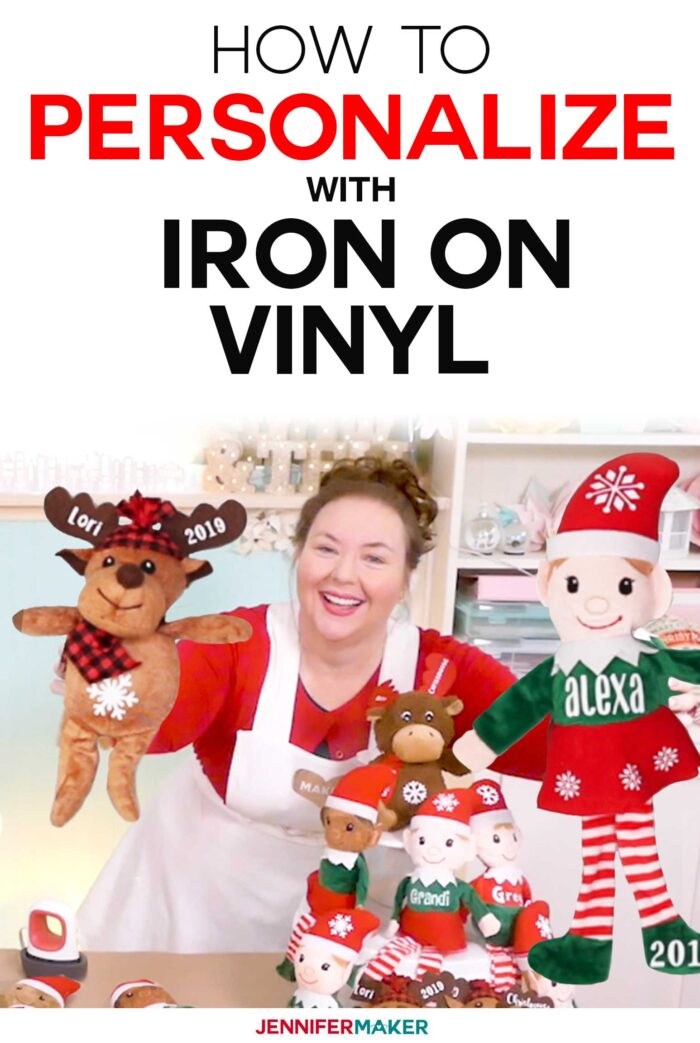
Want to remember this? Save the Personalized Elves and Stuffed Animals Tutorial to Your Favorite DIY Pinterest Board!
i’m unable to locate design #170 and am desperately looking for glasses for an elf.
All the files are labeled numerically and you can search by the number to make it even easier to find!
Hey, how come when I download the SVG for the Christmas elves, it doesn’t give me the option of Complex or Simple so I just click next and the elves are blacked out so I can’t see any details?
Hi Crystal! Make sure you are uploading the correct file type (SVG).